Table of Contents
Water Cooled System Design and Build
Design
Why?
I always wanted a water cooled system and since my current system was experiencing motherboard failure it was time to upgrade. Buying a replacement motherboard for the dual AMDs I had was more than getting a nice new faster Intel board.
Computer Parts
I decided on the following parts for my new system. I was going to re-use some of my dead system's parts.
New
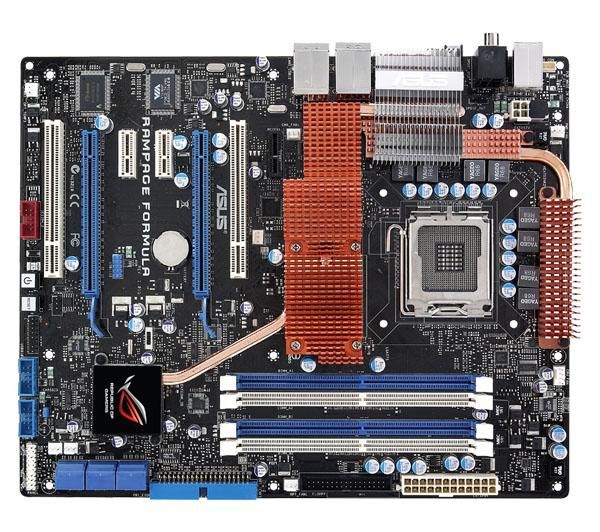
- Asus Rampage Formula 775 X84 RT
- Intel C2Q Q9450 2.66Ghz 775 12M
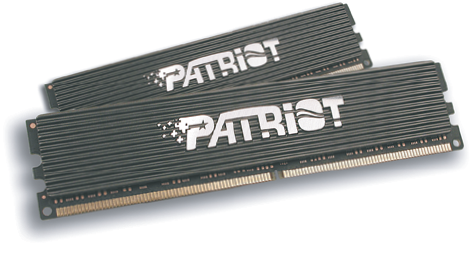
- 8GB of Patriot PDC24G6400LLK R (4 sticks, 2GB each)
- 2 x 500GB Seagate 7K 16M SATA2 ST350063AS (Too loud! see below)
- Blu-ray LG BE252SV-01J 2X RT
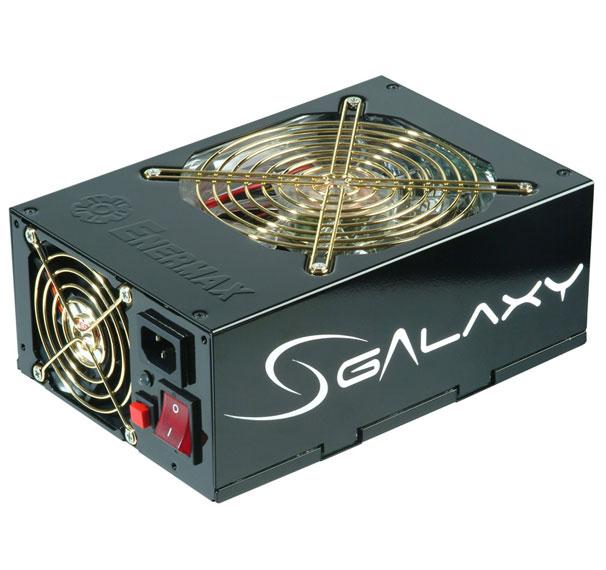
- Enermax EGX1000WL Power Supply (Too Big! see below)
- Vista x64 Ultimate (Juk! but since I already dealt with the nightmares of WinXP x64 I didn't think this would be much worse.)
Re-use
- 2 x 250GB Western Digital SATA2 Drives
- 2 x nVidia GeForce 6600GT (no SLI, new motherboard doesn't do SLI and I wasn't doing SLI on the old one)
- 3 x 19“ Samsung LCD setup from DigitalTigers
- Keyboard and Mouse
Water Cooling Parts
I didn't want to spend too much time with the case so I decided to buy a PC4-1025BK case from Koolance with the radiator and pump included. Since I was buying that case I also decided to buy the other parts I needed from Koolance to keep things simple. Their website lets you easily find the correct water blocks you need for your system and they clearly state the nozzle sizes so you don't mismatch any of them.
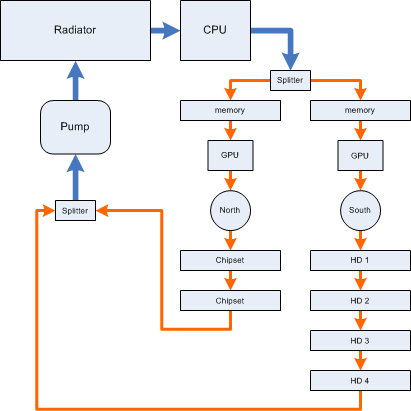
My plan was to cool every item I could. Here is a diagram of what I as planning (Blue = 10mm, Orange = 6mm).
For tubing I ordered 4 Feet of 10mm tubing and 6 feet of 6mm tubing. I ran out of 6mm tubing and had to order more.
Since my system was larger than normal I ordered two 700ml of bottles of fluid. I ended up using ~900ml to fill the system.
Here is the complete list
- 4 x HD-50-L06 (HD) [6mm, 1/4”]
- 1 x Adapter, Intel Socket 775 ATX
- 1 x CPU-300-V10 (CPU), [10mm, 3/8“]
- 2 x Nozzle Pair, G 1/4” Compression [10mm, 3/8“]
- 4 x Tubing, Clear UV-Reactive PVC, 1ft/30.5cm [10mm, 3/8”]
- 1 x PC4-1025BK, Black [no nozzles]
- 1 x CHC-122 (MB) [no nozzles]
- 2 x MVR-40 (MB VReg) [no nozzles]
- 1 x CHC-120-V06 (MB) [6mm, 1/4“]
- 2 x RAM-30-V06 (Dual DDR/DDR2/DDR3/SD) [6mm, 1/4”]
- 2 x GPU-180-L06 (Vid/MB) [6mm, 1/4“]
- 2 x MVR Heat Transfer Plate, 72mm
- 2 x Tubing Splitter, F 10-6mm (Plastic)
- 6 x Tubing, Clear UV-Reactive PVC, 1ft/30.5cm [06mm, 1/4”]
- 2 x Liquid Coolant Bottle, High-Performance, 700mL (Fluorescent Blue)
- 3 x Nozzle Pair, G 1/4“ Compression [06mm, 1/4”]
Build
Everything arrived nicely packed from Koolance and Newegg.
First thing I had to do was determine if any of the items I received from Newegg where DOA (dead on arrival). To do this I setup the system how I normally would without water cooling. Since adding some of the water blocks requires removing of factory heatsinks I did not want to void the warranty before checking everything works.
Once I verified everything is in working order I started removing the heatsinks.
CPU
Attaching the block to the CPU is very simple and not much different from attaching a fan. In my case a spacer was needed between the block and the CPU but it was included with the cooling block.
GPU
Since my GeForce 6600 are quite old the removing of the small fans was very easy. Attaching the water block is also very easy. You have to make sure however not to tighten the block too tight as the GPU card will bend.
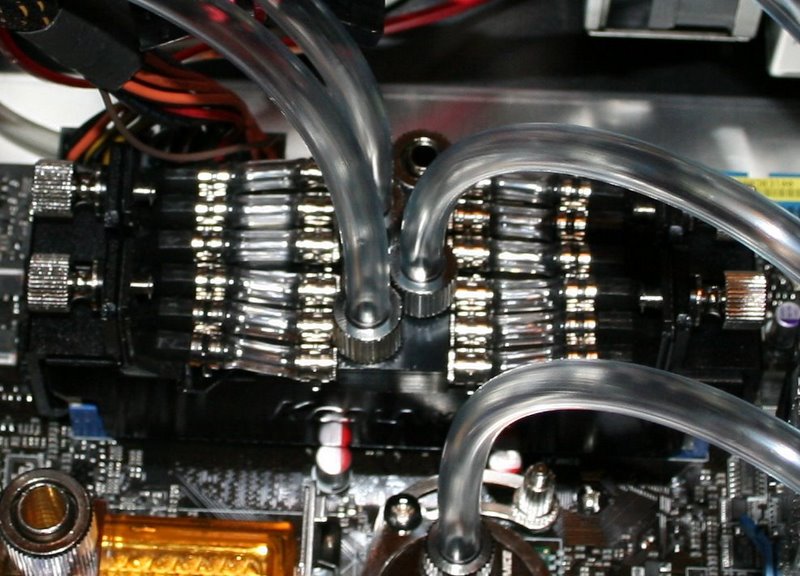
Memory
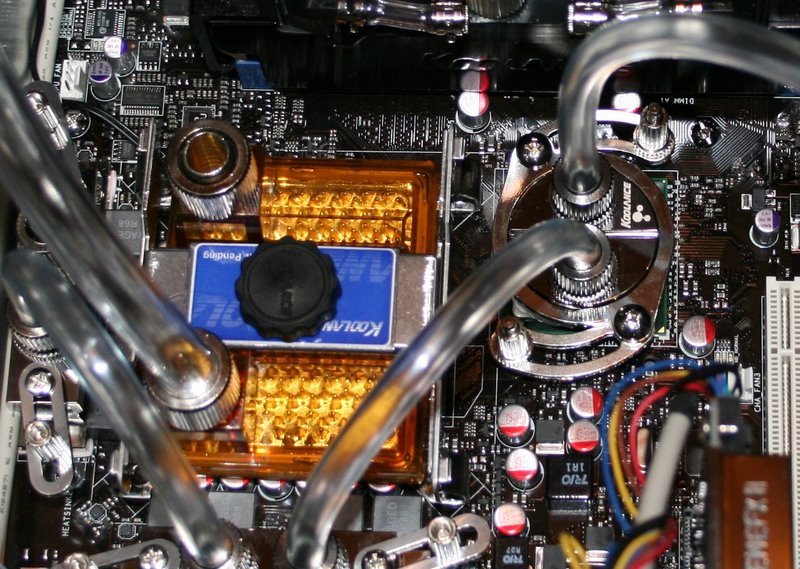
Motherboard North and South Bridge
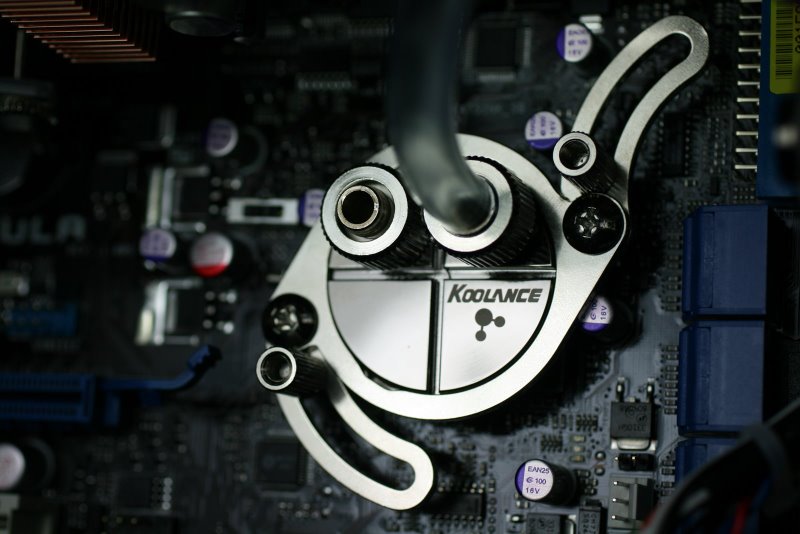
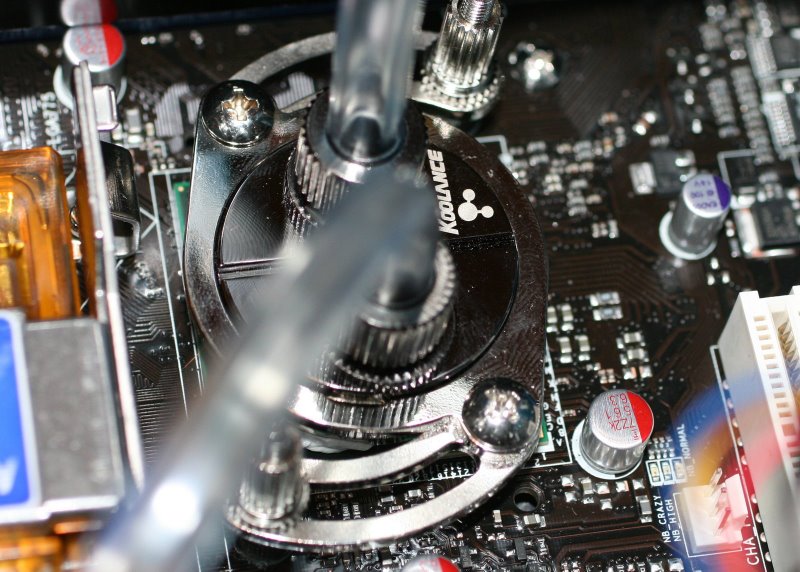
This involved removing the heatsink attached to the motherboard. The north and south bridge blocks attach to the motherboard using the same holes from the heatsink.
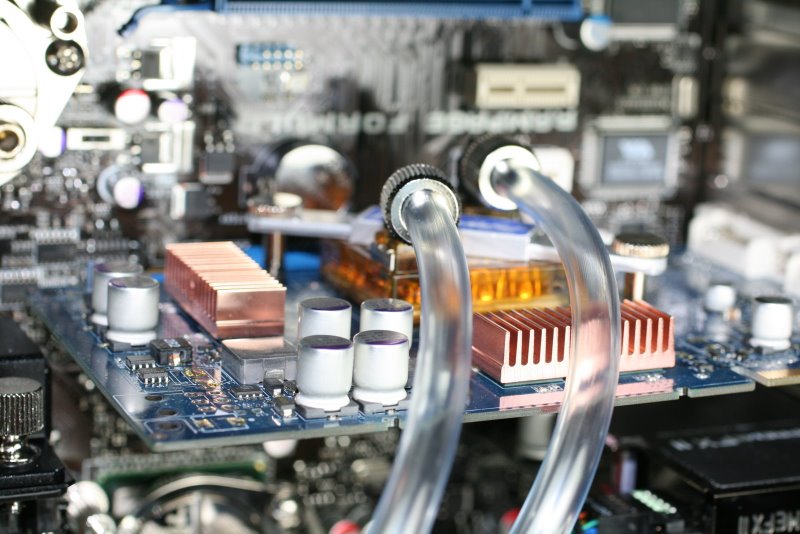
Motherboard Chipset
The chips are revealed when removing the block from the north and south bridge. The rectangular blocks are attached in a similar fashion as the north/south bridge blocks.
Once I attached all the water blocks to the motherboard I installed it in the case.
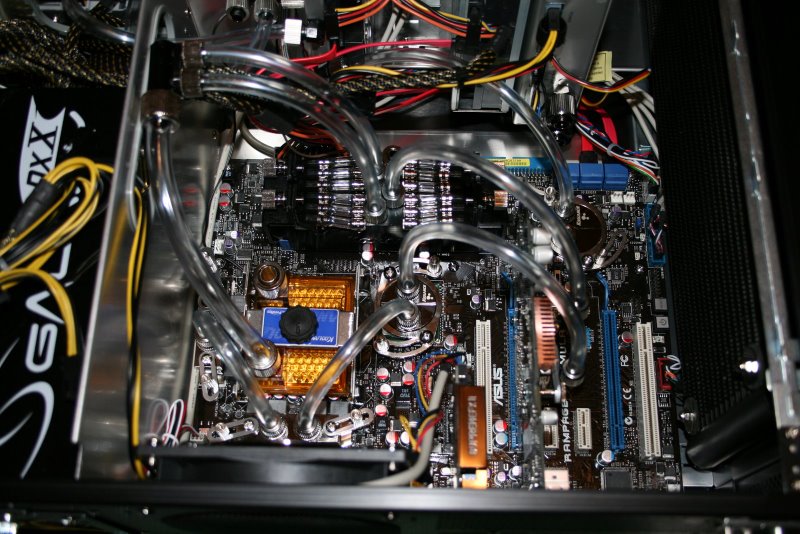
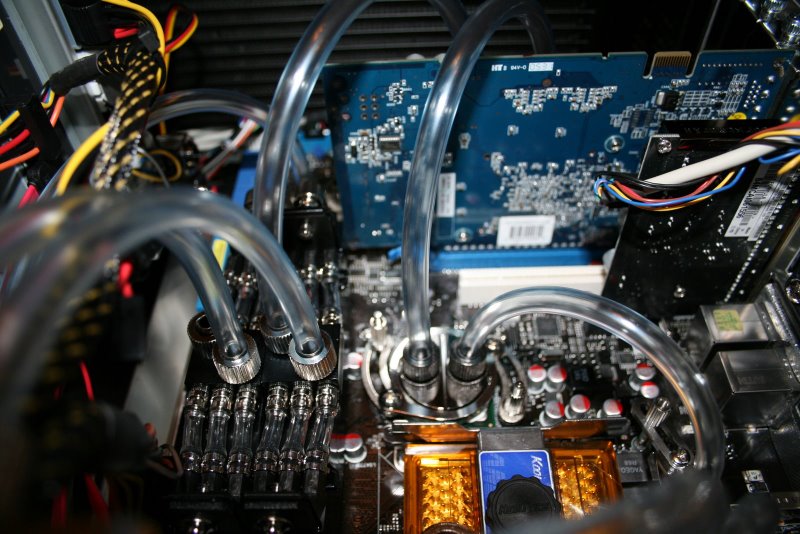
After I had all the items in and the wiring done I started with the tubing. Starting with the processor I went along the path I had designed and cut the tubing accordingly.
After checking each fitting to make sure they where tight I filled the pump reservoir to the top and powered on the pump as described in the manual. Every 20 seconds or so I turned the pump off and added more fluid to the reservoir. Each time I powered on the pump a little more fluid would go into the tubing and air would replace what was in the reservoir.
Once most of the air was gone I connected the ATX connector back to the motherboard and started the system.
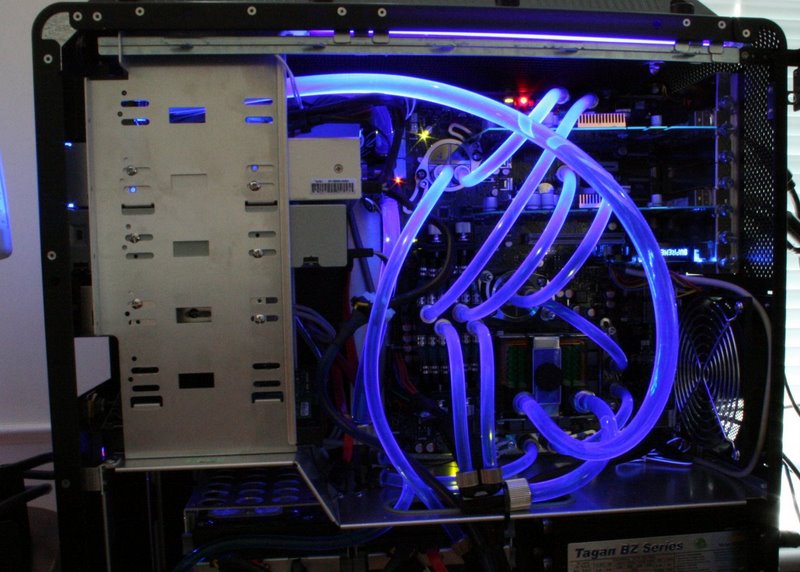
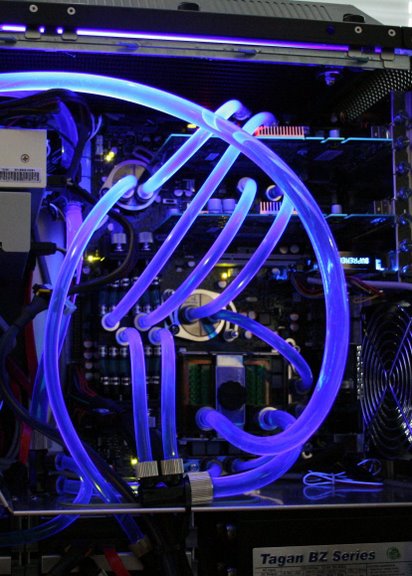
The system runs great even with Vista. Temperature is very low even with the fans and pump set to their lowest level.
Problems / Changes
Nozzles
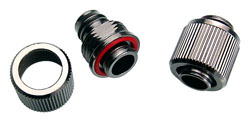
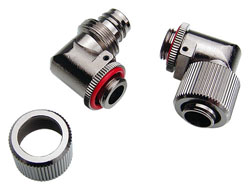
I ran into an issue where the nozzles I ordered for the pump and the radiator interfered with the motherboard. I had to order right angle nozzles instead of the straight through ones which solved my problem.
Power Supply
The 1000W unit I got is way to big. It is so big it takes away my second hard drive cage. I am going to replace it with a smaller 750W unit which should be just fine.
HD Water Blocks
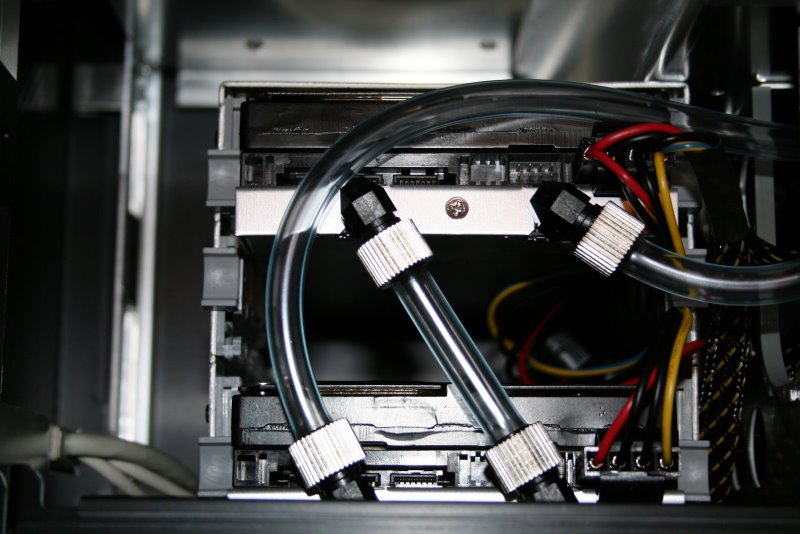
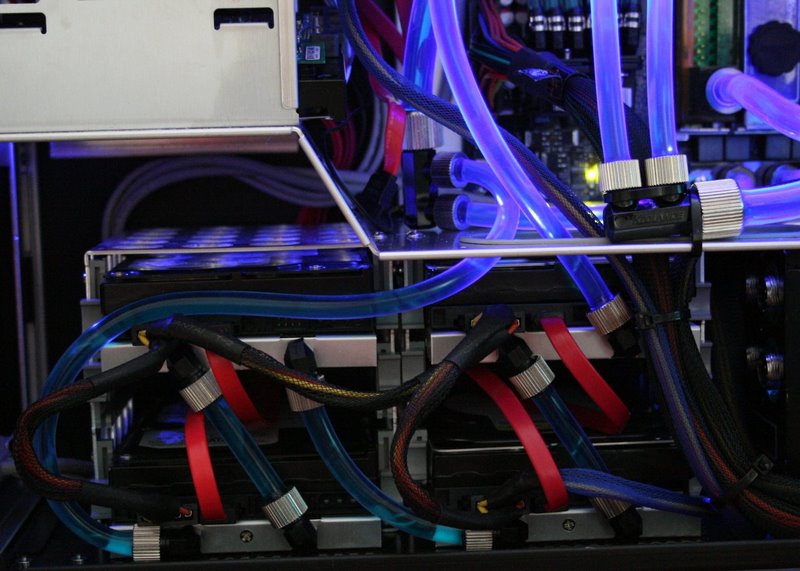
The water blocks I got don't fit well with SATA drives and the bay type in the case I have. I can only barely fit 2 in the 3 drive cage. I may end up switching to another water block that fits better.
HD Noise
The two Seagate SATA drives I purchased were too nosy for comfort so I moved them into my NAS. I purchased two Wester Digital 750GB SATA drives instead which are nice and quiet.
Finished System
Problems
Leaks
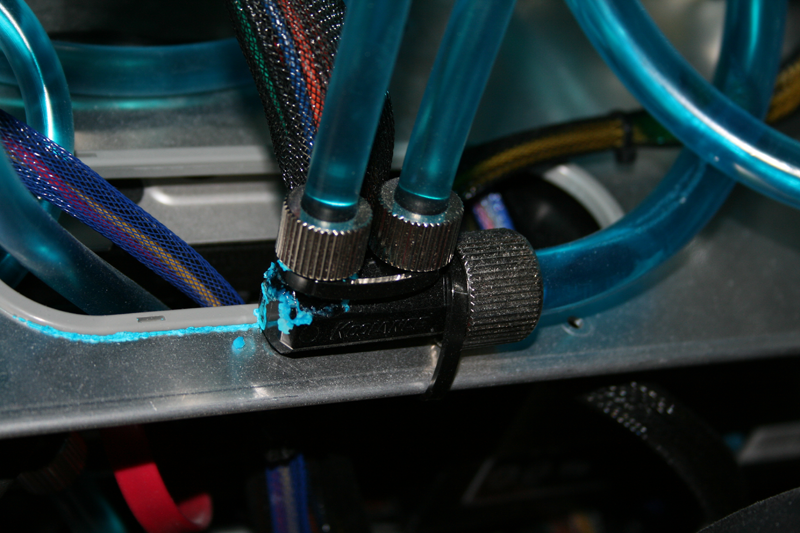
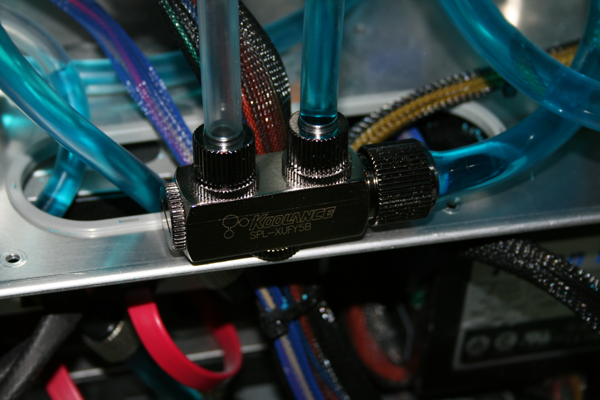
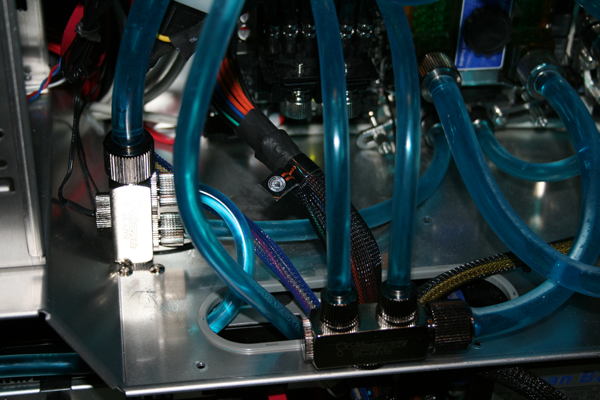
It appears that one of the two Tubing Splitters is leaking. This may be due to a crack or possibly the fitting is not tight enough because of the zip-tie that is around the fittings.
New fittings installed.
Memory
One of my DIMMs failed and had to be replaced. It still worked when in single channel mode but it didn't work in dual channel mode anymore. I doubt it was due to heat as they are kept quite cool.

